
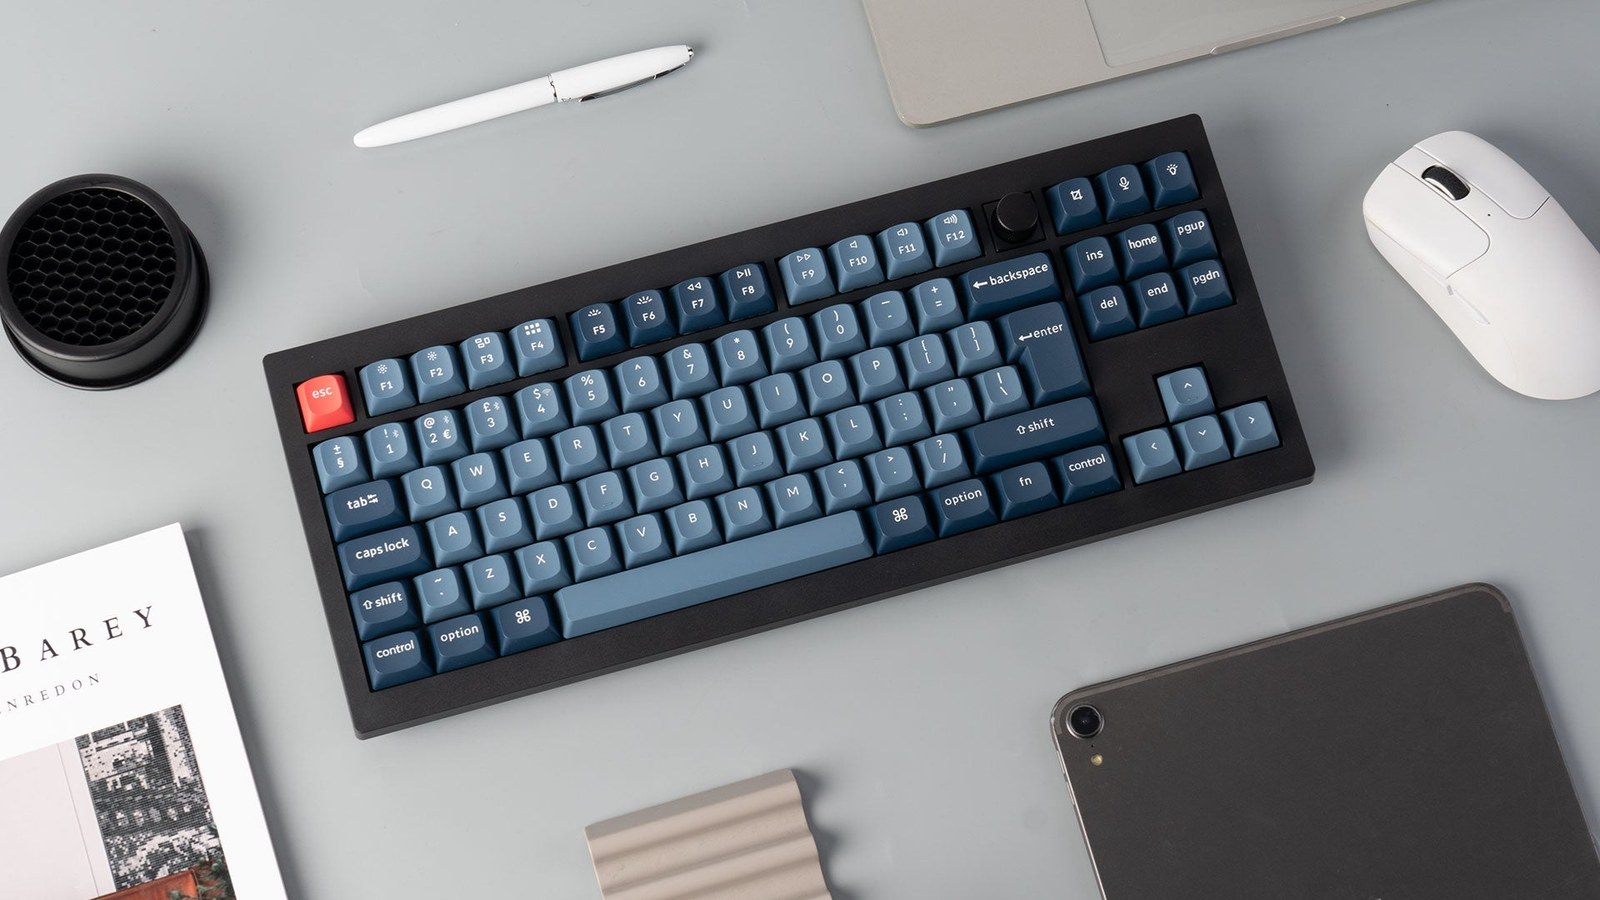
Hot-swap means a keyboard's switches can be removed from sockets and replaced without desoldering. It does not mean every switch fits, or that every keyboard from one brand uses the same system. Check the exact keyboard variant and the manufacturer's compatibility statement before ordering a bag of switches.
Three separate details matter: the sensing mechanism, the switch profile and the PCB's pin layout. A switch can look right from above and still have the wrong connection underneath.
Mechanical, optical and magnetic are different systems
Conventional mechanical switches use electrical contacts. Optical designs use light-based detection, while magnetic designs measure changes in a magnetic field. Their sockets and sensors need to match the mechanism even when the keys look similar.
Our magnetic versus mechanical keyboard guide explains that difference. Low-profile and conventional-height switches also should not be mixed without explicit compatibility. A matching cross-shaped keycap stem does not establish identical dimensions or electrical connections.
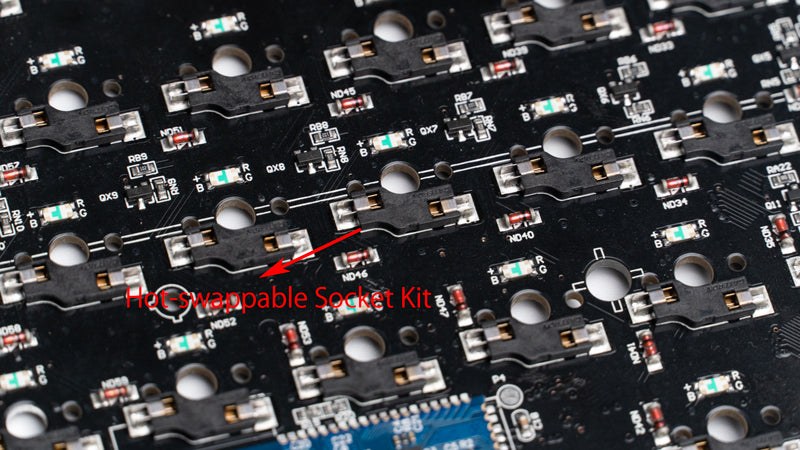
Keychron's hot-swap explanation shows the PCB socket that provides the connection. The socket pictured here is a particular system, not a universal adapter.
What three-pin and five-pin actually mean
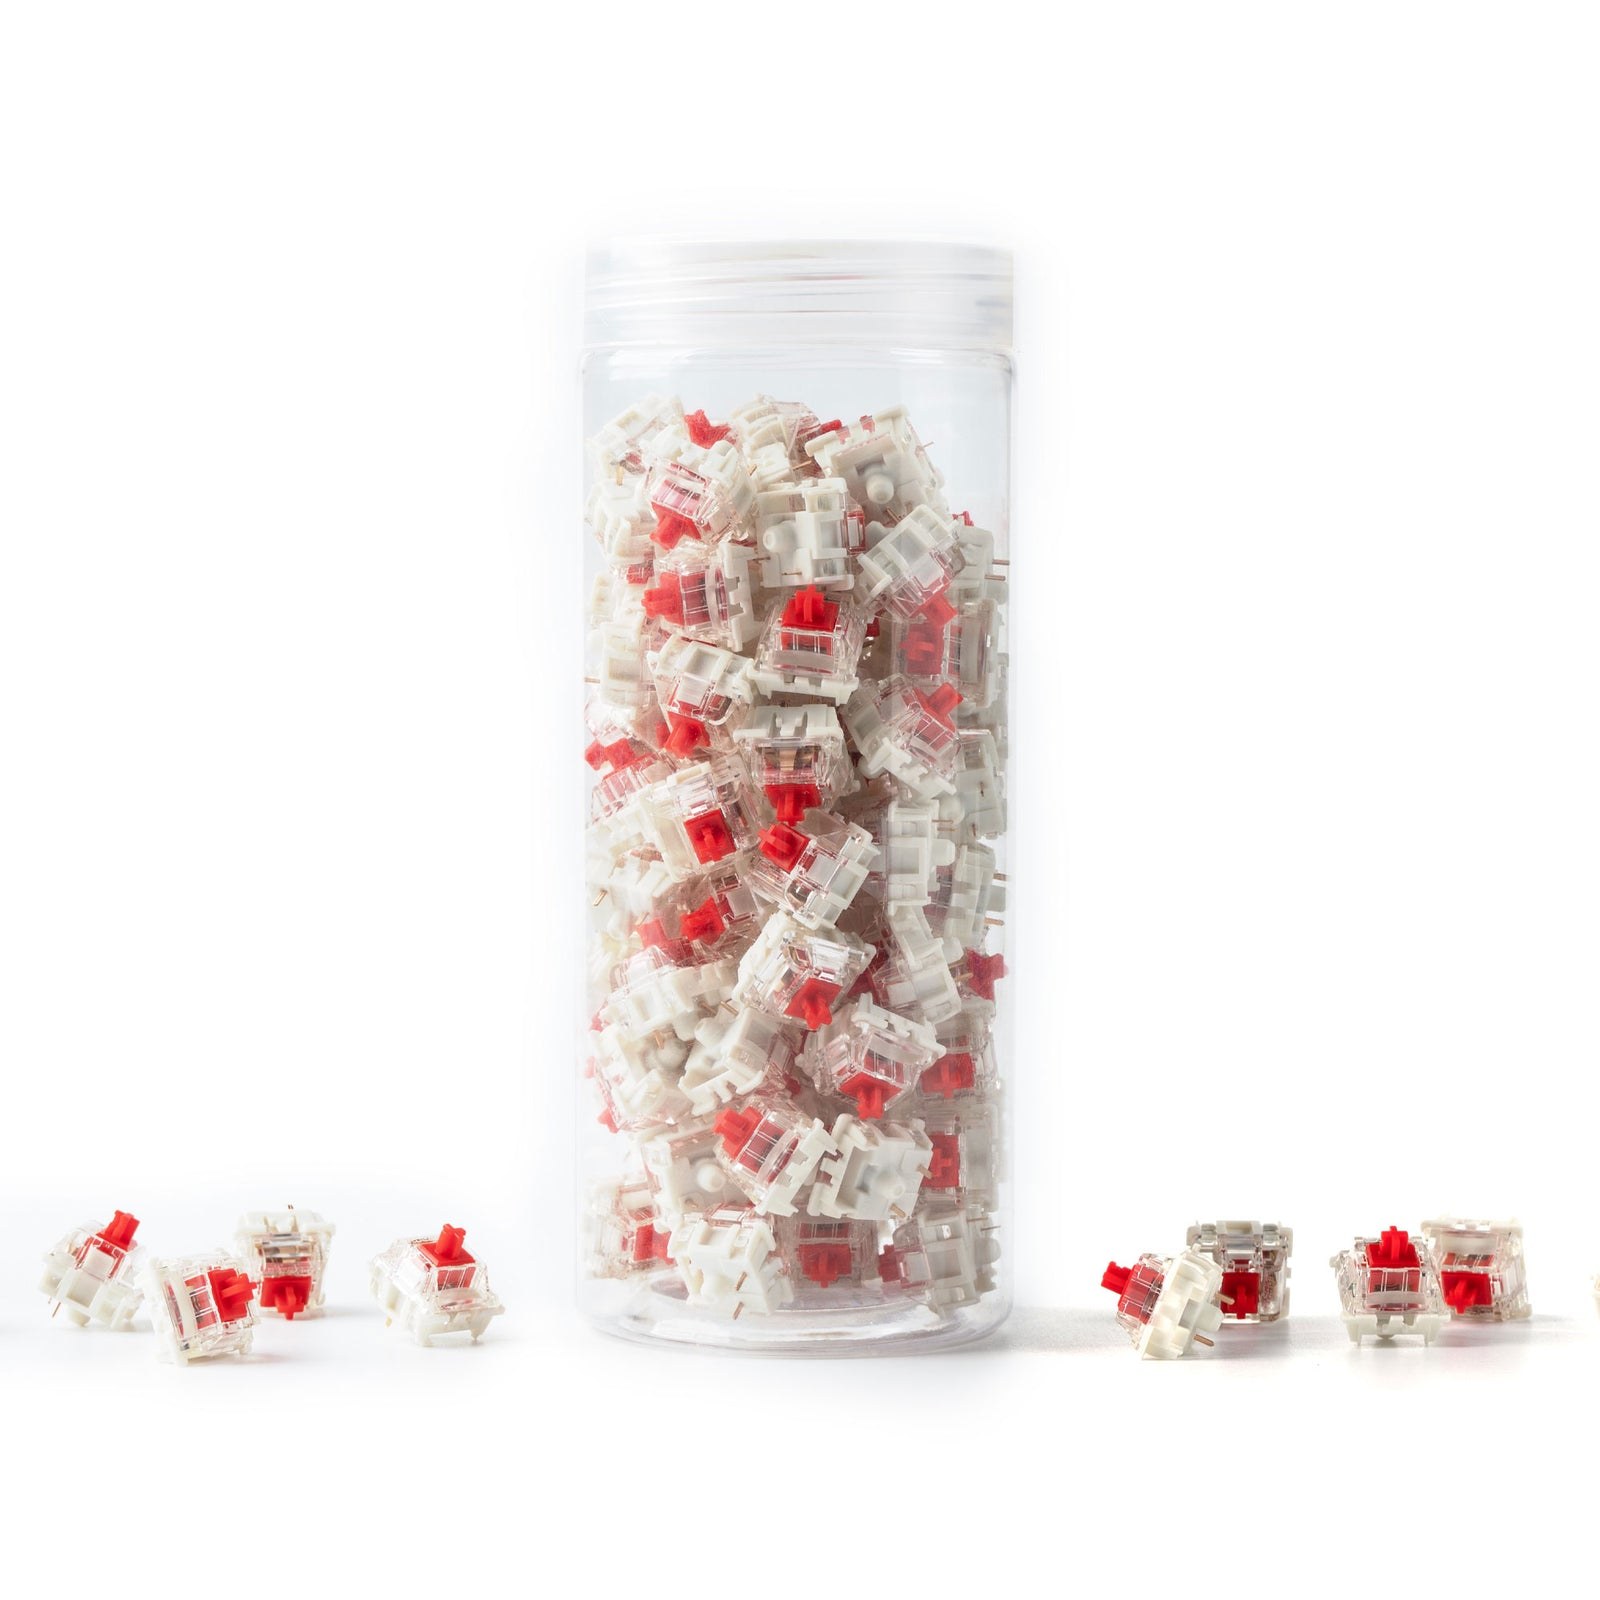
For many MX-style mechanical switches, three-pin counts two metal electrical contacts and the central plastic post. Five-pin designs add two plastic locating posts, not two more electrical contacts.
A compatible five-pin PCB can commonly accept three-pin switches from the supported family. The Keychron V3 Max specification, for example, explicitly supports both. That statement applies to that model, not every hot-swap keyboard.
The Gateron G Pro 3.0 specification illustrates why the exact product matters as well as the brand. If your PCB lacks the required holes, do not force the switch into it. For a first replacement, buy a confirmed compatible model rather than cutting locating posts to adapt another.
Replace one switch before changing the entire board
Turn the keyboard off, disconnect its cable and follow the manufacturer's instructions, particularly for battery-powered models. Use a keycap puller for the cap and the appropriate switch puller to release the switch tabs. Pulling on a keycap is not the same procedure as removing a switch.
Check that the replacement's metal contacts are straight and orient it to the holes. Insert without forcing it. If it does not fit normally, stop and check alignment and compatibility. If the PCB socket moves or comes away with the switch, do not continue replacing the rest.
Replace the keycap, reconnect the keyboard and turn it on. Check that each press registers once before replacing the remaining switches. Hot-swap is also advertised in products such as the KEYZ ELITE 300 and 400 announced for Spain, but every purchase still needs a check of the switches supported by the exact variant.
If a key still fails with a compatible, correctly seated replacement, the socket, PCB or configuration may be responsible. Replacing more switches does not establish that the problem will go away.
The conversation starts here
Sign in with a supporter account to comment. Sign in


Nobody has commented yet. Want to go first?